

When you think about protecting your car’s paint, ceramic coating probably comes to mind as one of the best options out there. Not only does it give your vehicle a sleek and glossy finish, but it also acts like a shield against dirt and UV rays. However, just like cooking a great meal, the secret isn’t in the fancy ingredients alone; it’s all about the prep work that goes into making sure everything tastes amazing. In this guide, we'll walk you through the essential steps needed to prepare your car for a ceramic coating application, ensuring that you get the most out of your investment and leave your friends wondering how you managed to make your ride look so good.
Essential Tools and Products
Having the right tools and products is essential for preparing your car for a ceramic coating application. You might be tempted to skip some steps, but investing in quality items will save you time and frustration later on, not to mention ensuring a professional finish that will leave your friends envious. Many automotive enthusiasts swear by their detailing routines, sharing stories of how a well-prepped surface transformed their cars into head-turners.
Microfiber Wash Mitts and Towels
Firstly, you should prepare some microfiber wash mitts and towels. These soft materials are gentle on your car's paint yet effective for cleaning without causing damage. Using regular sponges can introduce micro-abrasions because they hold onto grit, but microfiber holds dirt and debris within its fibers, preventing surface damage. This is a small step that can have a huge impact on the way your coating shines when completed.
Two Buckets and Grit Guards
Next, we have the two buckets and grit guards, which are essential for ensuring clean washing water is maintained. One bucket holds soapy water while the other holds clean water for rinsing off your mitts. Incorporating grit guards helps prevent dirt from re-entering your soapy mix, ensuring that you're not inadvertently damaging your car while trying to clean it.
pH-Neutral Car Shampoo
Don't forget about pH-neutral car shampoo—the kind that’s gentle enough not to strip wax or harm any existing protection on the paint but strong enough to tackle grime effectively. I personally prefer brands for their efficient cleaning capability without compromising my car's finish.
Clay Bar Kit
Before even thinking about applying the ceramic coating, you'll need a clay bar kit ready to go. Clay bars remove embedded contaminants that just won’t budge with regular washing methods. This includes tree sap, industrial fallout, and stubborn dirt particles that can lead to an uneven finish after application.
Iron Fallout Remover
Moreover, part of effective surface prep involves using an iron fallout remover to address iron particles that cling to your paintwork. These microscopic bits can lead to corrosion if neglected. An iron fallout remover acts like a magnet for these particles—use it before applying any protective coating and watch how much smoother your surface becomes afterward.
Polishing Pads and Compound
In case surface imperfections reveal themselves during cleaning, let's talk about polishing pads and compounds. They’re indispensable for correcting these flaws before applying the coating. A dual-action polisher makes this task much easier.
Isopropyl Alcohol (IPA) Solution
Lastly, keep a bottle of isopropyl alcohol (IPA) solution for that crucial final wipe-down before you lay down the ceramic coating. It ensures all oils from fingerprints or leftover waxes are eliminated from the surface.
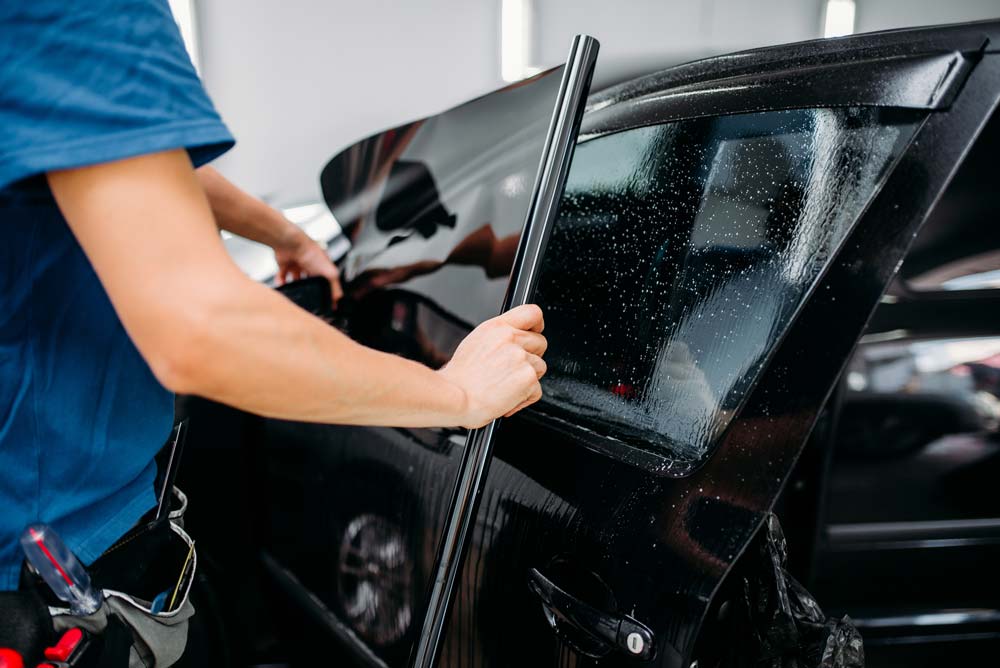
Ceramic Coating Kit
Of course, the grand finale is your ceramic coating kit, ideally one from reputable brands. These kits typically come with applicator pads essential for achieving that coveted glossy finish.
Detailed Wash Process
To kick off the wash, you'll want to start with a thorough rinse using a garden hose or pressure washer. This initial step is crucial because it strips away loose dirt and grime, minimizing the risk of damaging your car's painted surface during subsequent washing stages. It may seem simple, but giving your vehicle a proper rinse establishes a good foundation for the next steps.
After you’ve successfully rinsed the car, it's time to move on to one of the most effective methods: the two-bucket wash system.
Step I: Two-Bucket Wash Method
The two-bucket wash method can significantly improve your washing experience. One bucket will be filled with pH-neutral car wash soap mixed with warm water (ideally around 100°F or 38°C), while the second bucket remains solely for clean rinsing of your wash mitt. This way, any dirt you collect while scrubbing stays in the rinse bucket, significantly reducing the chance of reintroducing contaminants onto your vehicle’s surface. Think of it as keeping your paint safe from unwanted damage; after all, nobody wants to mar their hard work with a few careless swipes.
Step II: Clean in Sections
Now, emulate professional detailers by washing your car in small sections. Start at the top and move downwards. This method not only ensures that you cover every inch of paintwork but also prevents soap from drying and leaving marks or water spots behind. A quick tip: frequently dip your wash mitt in your clean water bucket before returning to the soapy water. This helps remove any caught debris and keeps your mitt as clean as possible. Once you've scrubbed and rinsed each section carefully, it’s crucial to perform a thorough rinse on the entire vehicle to remove all soap residues.
Step III: Rinse Thoroughly
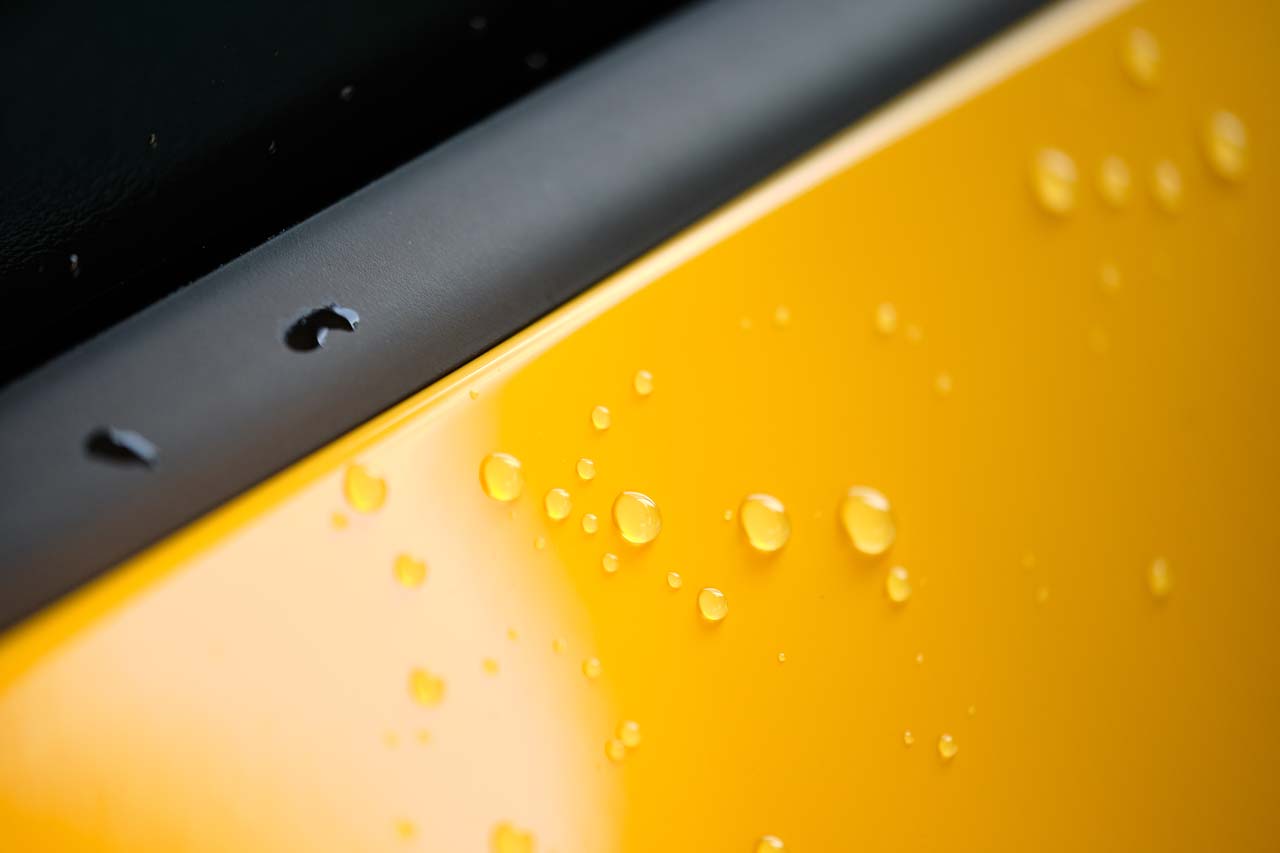
Conclude your washing routine by giving the entire car a comprehensive rinse from top to bottom. This ensures that all soap is flushed away completely, which is essential not only for appearance's sake but also for maximizing adhesion when applying ceramic coatings later on. You want every bit of product removed before moving forward. After rinsing comes an equally important phase: drying the car correctly.
Step IV: Drying
Use high-quality microfiber towels or a dedicated car dryer for this final step—starting from the top and working downward will help prevent those pesky water spots from forming. The gentle touch of microfiber will absorb moisture without causing damage, making it an ideal tool for maintaining your freshly washed vehicle. Take your time during this step, as it will significantly impact the bonding of your ceramic coating with the surface. With this meticulous washing process complete, you're now primed for the next critical step in achieving a flawless finish on your vehicle.
Removing Old Waxes and Sealants
Preparing your car for a ceramic coating application isn't just about cleaning; it’s essential to ensure that any previous protective layers like waxes or sealants are fully removed. Ceramic coatings adhere best directly to the paint surface, allowing for optimal protection and longevity. If layers of wax or sealant remain, they can act as barriers that prevent the new coating from bonding effectively.
Using a Degreaser
One of the most efficient ways to strip these old layers is by using a degreaser or specialized product. Applying such a product helps in breaking down and removing stubborn residues left behind by previous applications. Simply spray the degreaser onto the car’s surface and gently agitate it with a microfiber cloth. After applying the degreaser, always follow up with another thorough rinse. This step ensures that any remaining residues of the degreaser are washed away, leaving your car’s surface clean and ready for ceramic coating.
Ensure you pay close attention during this stage; if any traces of old wax linger, it can jeopardize the bond between the new ceramic coat and your vehicle’s paintwork. Ideally, after rinsing, you should feel confident touching the paint surface—it should feel slick and clean, free from any tackiness or stickiness left by previous products. With a clean slate established, you're primed for the next crucial phase in enhancing your vehicle’s finish, which focuses on refining the surface quality for optimal results.
Polishing the Paintwork
Polishing your car’s paint is one of the most critical steps in preparing it for ceramic coating application. It keeps the surface clean, smooth, and free of imperfections that can mar that glossy finish we love. The condition of your paint will influence how extensive your polishing efforts should be.
Identifying Paint Imperfections
Start by conducting a thorough inspection of your car’s paintwork in a well-lit area. This light will help illuminate imperfections such as oxidation. Don't rush this step; daylight reveals flaws hidden in shadows, so take your time. Additionally, using a paint depth gauge provides valuable insights into how thick your clear coat is, which is essential when deciding on your polishing method. Don’t be disheartened if you find numerous blemishes; it's all part of routine care. Once you’ve got a comprehensive picture of the condition of your vehicle's surface, it’s time to start polishing with intention.
Polishing Process
Step I: Select the Right Compound
Choosing the right polishing compound is crucial. For minor imperfections like haze, consider using fine compounds designed for finishing work—these can bring out clarity without removing too much material from the clear coat. For significant oxidation, heavier compounds are available; these are formulated to cut through layers more aggressively without damaging the underlying paint too severely. Many enthusiasts recommend trying out different products to see what works best for their specific painting job.
Step II: Using a Polishing Machine
A dual-action polisher is an essential tool for achieving even results in this process. When you’re ready to apply your chosen compound, attach it to the appropriate pad and set the machine to a low speed initially. Working in manageable 2x2-foot sections helps maintain control and effectiveness throughout the process. Make sure to create overlapping passes so that no areas are missed and blend seamlessly. Patience is key here; rushing could result in uneven spots or missed imperfections.
Step III: Wipe and Inspect
After completing each section, it’s vital to wipe away any residue with a clean microfiber towel before inspecting the area. This step cannot be overstated—how can you truly evaluate your work if there’s leftover polish obscuring hidden defects? A careful inspection after each pass allows you to see exactly where further polishing might be needed before proceeding to subsequent sections, ensuring you achieve that stunning finish you envision.
Throughout this polishing journey, patience and attention will reward you with beautiful results that provide an ideal foundation for applying ceramic coatings while elevating both the protection and appearance of your prized vehicle.
Thorough Surface Cleaning
The final surface cleaning cannot be underestimated; it’s pivotal to achieving an exceptional finish for your vehicle. Residues from the polishing stage can undermine the effectiveness of the ceramic coating if not properly addressed. Think of this part as the foundation of a house—if it’s not sound, everything built upon it will falter. Taking time to perform a thorough cleaning ensures that any lingering particles or contaminants are removed.
Step I: Use Iron Fallout Remover
To start this process, grab an iron fallout remover. This specialized cleaner targets iron particles that can embed themselves into the paintwork over time. Simply spray it across the entire surface of your vehicle. You’ll notice a color change as the product reacts with these iron particles, creating a visual cue that helps identify which areas still need attention. Follow the manufacturer’s instructions on how long you should allow it to sit—the typical range is about 5 to 10 minutes—before rinsing it off thoroughly.
Step II: Clay Bar Treatment
After rinsing and drying, it's time to enhance your surface cleaning skills with a clay bar treatment. You’ll need a clay bar kit, which usually comes with a lubricating spray. Spritz this lubricant generously onto a small section of your car’s paintwork. With gentle pressure, glide the clay bar back and forth across the area you're treating. You’re looking for that satisfying feeling when the clay glides smoothly without resistance—that's your sign your paint has been liberated from embedded contaminants like tree sap, road grime, or industrial fallout. Always remember to fold and knead the clay bar as it picks up dirt to expose a fresh side—this ensures continued effectiveness throughout your car’s surface cleaning process. Having established a meticulously clean surface, we now shift focus to those finishing touches that will refine your vehicle even further before applying the ceramic coating.
Final Preparation Steps
The last steps ensure that your vehicle’s surface is perfectly primed for the ceramic coating, enhancing adhesion and maximizing longevity. It’s crucial not to overlook these essential final preparation steps.
Step I: IPA Wipe-Down
Begin by mixing isopropyl alcohol (IPA) with distilled water in a 1:1 ratio. This solution will eliminate any remaining oils or residues from the polishing compound. Use a clean microfiber towel, making sure to wipe down the entire car's surface methodically. To ensure the ceramic coating's durability and efficacy, this step removes stubborn impurities and prepares the surface to bond. Remember, this cleaning process is akin to laying the foundation for a sturdy structure; if there's debris left behind, the entire coating could falter. Take your time here and don’t rush.
Step II: Review the Surface
After the IPA wipedown, head to a well-lit area for a thorough inspection of the paintwork. Look closely for any missed spots or lingering contaminants, such as tiny dust specks or areas where polishing residue has escaped your previous efforts. If you notice imperfections, consider correcting them before proceeding with the coating. Addressing these flaws now will save you headaches later on because they will be magnified under the shiny new protective layer.
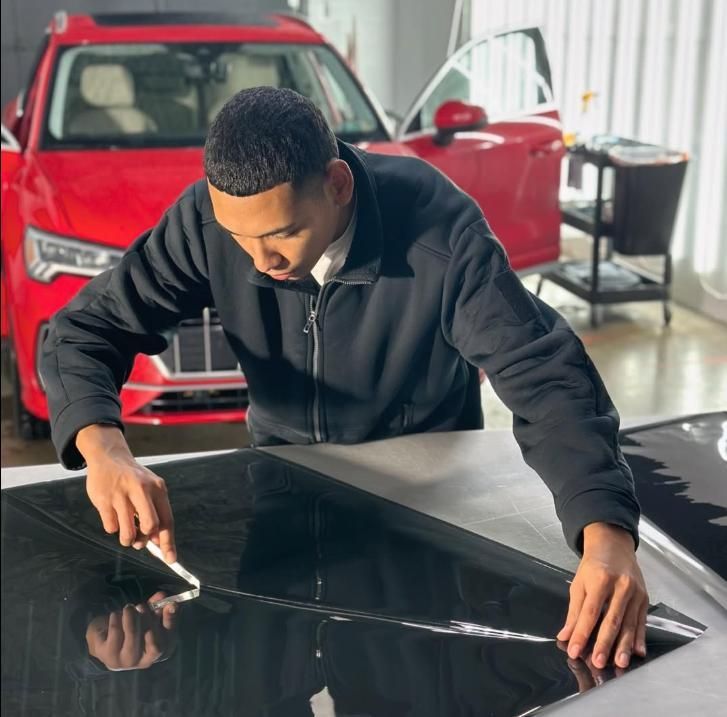
Step III: Start Coating
Now that your car's surface is meticulously cleaned and inspected, you’re ready to apply the ceramic coating! At this point, it’s crucial to follow the instructions provided with your specific ceramic coating kit closely. Each product may have slightly different application requirements, so adhering to these guidelines ensures optimal results. Generally, you should work in small sections to allow for an even application and prevent premature curing. Taking these preparation steps seriously not only enhances the quality of your application but also defines how well your investment pays off in protecting your vehicle’s exterior long-term.
In conclusion, following these essential steps can significantly improve both the application process and the lasting effect of your ceramic coating. Ensure each stage is done thoroughly for an optimal outcome.
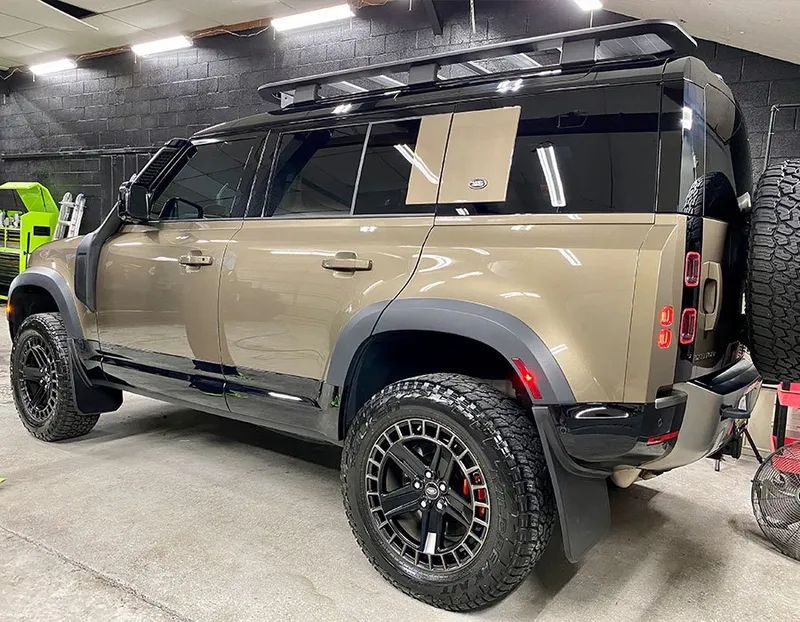
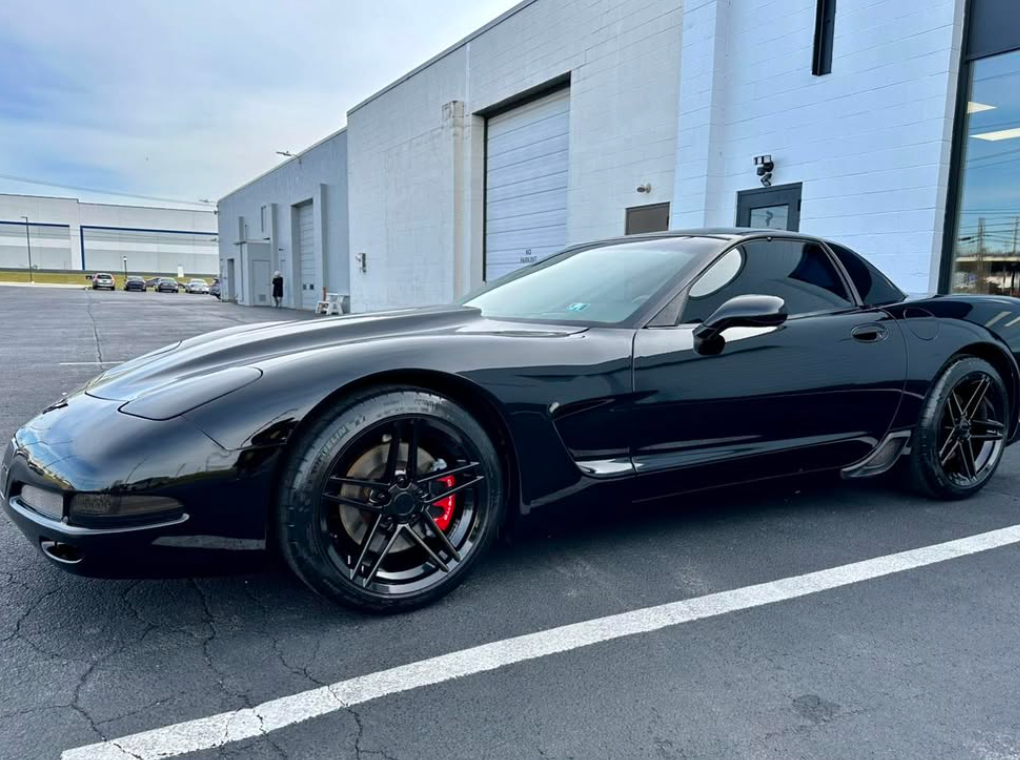
Why Choose Prestige Auto Spa & Coatings?
At Prestige Auto Spa & Coatings, we understand that your vehicle is more than just a mode of transportation; it's a significant investment deserving of superior care. Our team comprises skilled professionals with extensive experience in automotive detailing and ceramic coating application. We use only the highest-quality ceramic coating products, designed to withstand harsh weather conditions and provide long-term protection. Our ceramic coatings provide a durable shield against environmental contaminants such as UV rays, bird droppings, tree sap, and acid rain, preserving your vehicle's paintwork. Book now!
Prestige Auto Spa & Coatings